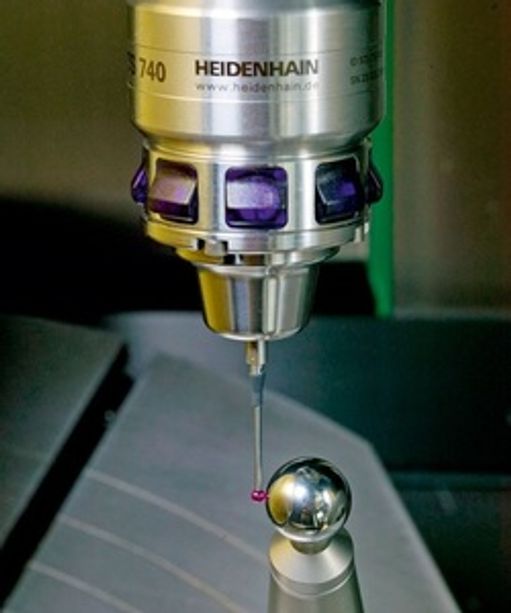
Easy head calibration
Benefits
- Time saving – easy and quick adjustment of head kinematics
- Increasing the accuracy of head positioning (high adjustment accuracy)
- Unlimited repeatability of use
Description
This function automatically measures the head rotational axes using the touch probe cycle. To measure the rotary axes, a calibration ball is fixed anywhere on the machine table, which is detected using a touch probe. Based on the measured values, the system detects spatial errors resulting from axis tilting. The cycle calculates an optimised kinematic description of the machine, in which these errors are minimised, and stores it in memory as machine kinematics. Of course, a file with a measurement report is also available. In addition to the measured values, this file also contains the optimised variance (a measure for static rotation accuracy) as well as the actual correction data. In order to use the function optimally, you need a particularly stiff calibration ball. This eliminates deformations caused by force acting on the probe tip.
Motivation
Manual calibration of the milling head is a lengthy process without knowledge of the appropriate functions or procedures.
